HOW DID THEY DO THIS - DESCRIPTIONS ON IMAGES
- Jul 11, 2018
- 3 min read
Last week we experimented with a fun little exercise and showed you how you could pull off an effect that one of our users has created. Well we just keep finding more examples of how different sites have been using our Rollover app so we thought we’d give you some more.
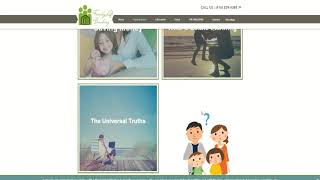
This time we’ll show you had to use our most popular effect, the crossfade, to add some simple descriptions to your images. As for the example we’re going back to one of the first sites we highlighted Our Life Coach.
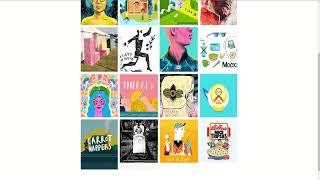
We originally highlighted this sites use of the app as we enjoyed the way they applied motivational text over beautiful imagery outlining the users three point policy to a happier life. We’re not so good with writing something that motivational so what we’ll be doing for this tutorial is adding some text to photos of a local tourist destination.
Here’s how we got on!
As usual here are the clip notes if you prefer.
Firstly go ahead and add our Rollover application from the Wix Market. To do so move over to the left sidebar and press Add Apps. In the search bar we are looking for Rollover Image Effects.
Once added click on the rollover and then settings.
Select choose an effect and then switch to the classic pack. The effect we’re looking for is Crossfade.
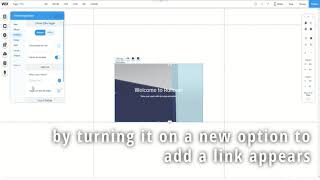
Next go to the settings menu and turn off ‘Trigger with Button’.
Now go to design and Images. Change the image to one of your choice and use it for both the start and end states. On the end state go down to overlay filter 1 and 2, change the colour to light grey or black and the opacity to 50% for both sliders.
From design go back and this time go into font. For the start state we only want to change the settings for the heading and for the end state we only want to change them for paragraph. Change the fonts to Arial and adjust the sizing as you see best.
Finally we want to go to the text menu. For the start state add your own title and delete the paragraph text. On the end state delete the heading and add your own paragraph.
And there you go! Click on preview from the editor to see how you got on!
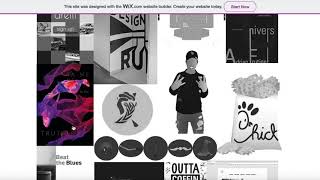
To get a similar layout just move and adjust the sizes of the Rollover app as you want. In this video we reduced the width to a third of the space between the margins (980 pixels). Duplicate the app to keep the setting the same and from there snap them next to each other. After you got the layout sorted it’s just a case of going back into each ones settings and swapping the images and text for something new.
We’re not saying this is the exact steps taken by Our Life Coach to create the effect but it’s how we’ve managed to get a similar effect working.
If you want more great examples on using Rollover Image Effect app check out our blogs Rollover Examples, or if you’d like some more handy tip on using Rollover check out our Tutorial Videos.
If you’d like to add our Rollover app to your site, check out Rollover Image Effects on the Wix Market.
So how do you think we got on? Would you have achieved this effect in another way? We’d love to know! Why not drop us a comment below and let us know!


Comments